Installation Instructions
Park tractor or ATV on level surface and raise one wheel at a time approximately 1" off floor with sturdy jack under the axle. DO NOT PLACE ANY BODY PART UNDER THE RAISED TIRE AT ANY TIME.
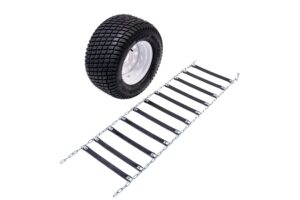
Lay the tire chains out on the floor and determine the inside from the outside by examining the hardware - the heads of the bolts should be to the inside and the nuts to the outside. Now determine the latch from the hook. The hook goes to the inside and the latch to the outside.
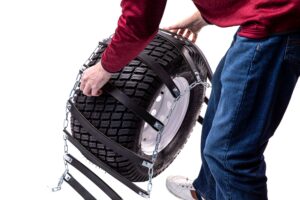
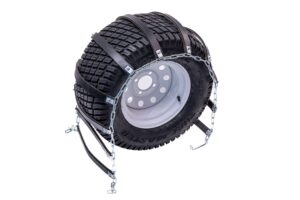
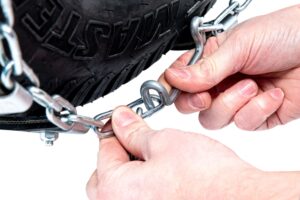
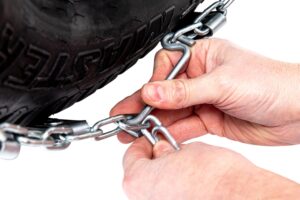
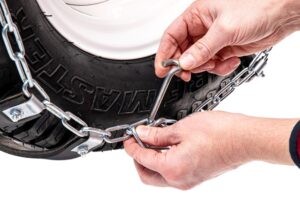
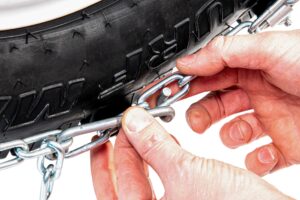
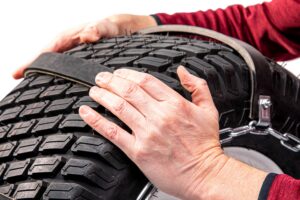
Drape the SoftClaw chains over the tire and position the ends where there is room to attach them easily. Hook the inside first, starting with the very last link, then the outside. Repeat this process taking up one link at a time alternating from the inside to the outside. Check to see that the traction bars are evenly spaced. Install the tire chains as tightly as possible!
We recommend removing the valve from the valve stem - letting all the air out. This reduces the tire size and enables the Traction Aid to be installed tighter. (Position the valve stem up when removing the air as some tires are filled with liquid)
Add air and check the SoftClaw chains for tightness by trying to pull the traction bars away from the tire. This should be difficult if the chains are installed correctly.
Repeat the procedure for the other tire. Test drive. If the ride is excessively rough, reduce air pressure in the tire.
Remember: at no time should any of the metal bolts or brackets be close enough to the tread of the tire that they touch the ground. If any of the metal touches the ground, it will scratch your driveway and defeat the purpose of having these chains in the first place. If the metal can touch the ground, your chains are too small.
As always, please feel free to contact us at any time with questions


